Indoor Grilling When Winter Wins: Pans, Smokeless Grills and Broilers
No balcony grill and a room full of playoff guests. How grill pans, smokeless grills and broilers compare, and how to keep the smoke alarm quiet.
By Priya Nair8 min read
My building has one rule that matters to me more than the rest: no barbecues on balconies. In July that's fine. There are parks, and friends with backyards. In January it's harder, because the football playoffs fill every weekend, the Raptors are deep in the grind of the regular season, and I have eight people coming over who were promised something off the grill.
So for a few winters now I've grilled indoors, in a condo kitchen about the width of a hallway, with a smoke alarm roughly three metres from the stove. Some of it worked. Some of it set off that alarm during a two-minute warning while somebody's cousin stood on a chair fanning it with a tea towel. This is what I've learned about the four tools that get you close to grilled food inside, and what each one is actually good at.
None of them make real charcoal flavour. What they can make is char, grill marks, crisp skin and the browned, slightly smoky edges on vegetables that people mean when they say "grilled." On a cold night with a game on, that covers most of it.
The cast-iron grill pan
A ridged cast-iron grill pan is the cheapest way in and the one I use most. The ridges lift food above its own juices and press dark lines into it, and the heavy iron holds enough heat that a pile of cold skewers doesn't crash the temperature.
It needs time. Heat it over medium-high for 5 to 8 minutes, until a few drops of water skitter and vanish. Oil the food, not the pan. A pan that hasn't fully preheated gives you grey meat with faint stripes; a properly hot one gives you dark marks and a crust.
The weakness is fat. It pools in the grooves, gets very hot and smokes. With sausages, burgers or anything with skin, tilt the pan and spoon off the fat between batches. A square pan fits more food, a round one heats more evenly on a small burner, and both work well on induction.
Electric smokeless grills
These countertop grills are what I get asked about most, usually by someone holding up their phone to show me one. The name oversells it a little, but the design really does cut smoke, and knowing why helps you use one properly.
Most grill smoke comes from fat hitting something very hot. Outdoors, drippings land on coals or burner shields and flare up. A smokeless grill attacks that in three ways:
- The heating element sits close under the cooking plate, and drippings run away from it into a drip tray below, sometimes filled with a little water, so fat lands somewhere cool instead of somewhere glowing.
- The surface temperature is capped well below an outdoor grill: hot enough to sear, but under the point where fat smokes hard.
- Many have a fan that pulls air across the cooking surface and through a filter, catching some of the smoke before it drifts.
The result is far less smoke than a grill pan on a gas burner and almost no flare-ups. It is not zero smoke. Sugary marinades still scorch, fat still spatters onto hot spots, and a big batch of wings will still haze the kitchen. Run the range hood and crack a window anyway.
A few habits help. Preheat for the full time the manual suggests. Don't crowd the plate, or the food steams instead of browning. Set the grill near the range hood rather than on the far counter. And expect cook times to run a little longer than outdoors, because the heat is gentler.
The oven broiler
Almost everyone owns a broiler and almost nobody uses it well. It's an upside-down grill: hard radiant heat from above, which is exactly what makes char. For a crowd it's the most useful tool of the four, because a whole sheet pan goes under at once.
Move a rack so the top of the food sits about 10 cm (4 in) below the element, and preheat the broiler for 5 to 10 minutes. Put the food on a wire rack set in a foil-lined rimmed sheet pan, so fat drips away instead of pooling and smoking. Then stand there. Broiled food goes from pale to perfect to burnt in about a minute, and every oven runs differently. Some ovens want the door closed while broiling and some want it ajar, so check yours. Never put glass bakeware under the element.
Contact grills
The hinged, two-sided countertop grill cooks top and bottom at once, which is its strength and its weakness. It's quick and forgiving with thin, even things: burgers, split sausages, chicken breasts pounded to 1.5 cm (1/2 in), sandwiches, slices of zucchini and eggplant. Most have sloped plates that drain fat into a small tray.
But the lid presses down and squeezes juice out of meat, and the plates rarely get hot enough for real char. I treat mine as a burger and sandwich machine and don't ask it for more.
What to cook on which
Wings belong in the oven and under the broiler. Dry them well, toss with salt and about 1 teaspoon of baking powder per 450 g (1 lb), and bake on a rack at 425°F (218°C) for 40 to 45 minutes, turning once. Finish under the broiler for 2 to 3 minutes a side until blistered. Chicken is safe at 165°F (74°C), and wings are better a little past that, around 175°F (79°C). A smokeless grill can manage small batches if you turn them often, but wings are fatty enough to test the "smokeless" promise. Megan Tremblay's guide to wings at home goes deeper on the oven method.
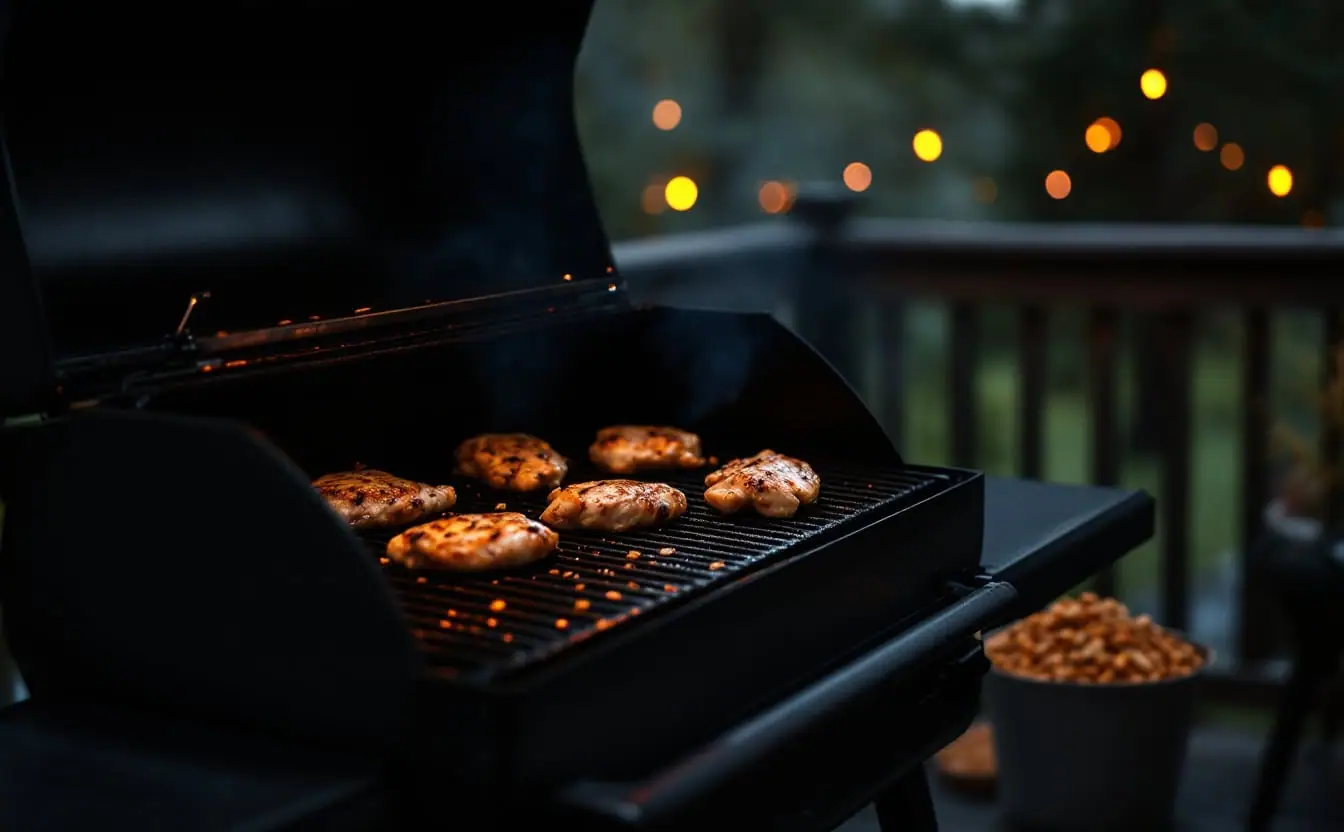
Skewers do well on the grill pan or under the broiler. Cut meat and vegetables into even 2.5 cm (1 in) pieces, and use metal skewers or soak wooden ones in water for 30 minutes. Chicken thigh is the forgiving choice. Under the broiler they take 4 to 5 minutes a side; on a grill pan, give them a quarter turn every 2 to 3 minutes until the chicken reaches 165°F (74°C).
Burgers suit the grill pan or the contact grill. Patties of 113 to 170 g (4 to 6 oz), about 2 cm (3/4 in) thick, take roughly 4 to 5 minutes a side on a hot grill pan; on a contact grill, start checking at 4 minutes total. Ground beef needs to reach 160°F (71°C). Pour the fat off the grill pan between batches.
Sausages are better poached first. Simmer raw sausages gently in water or beer for about 10 minutes, then brown them on the grill pan or under the broiler for 4 to 6 minutes. Less time on high heat means less fat smoking and no split casings with raw middles. Pork sausages need 160°F (71°C), poultry ones 165°F (74°C).
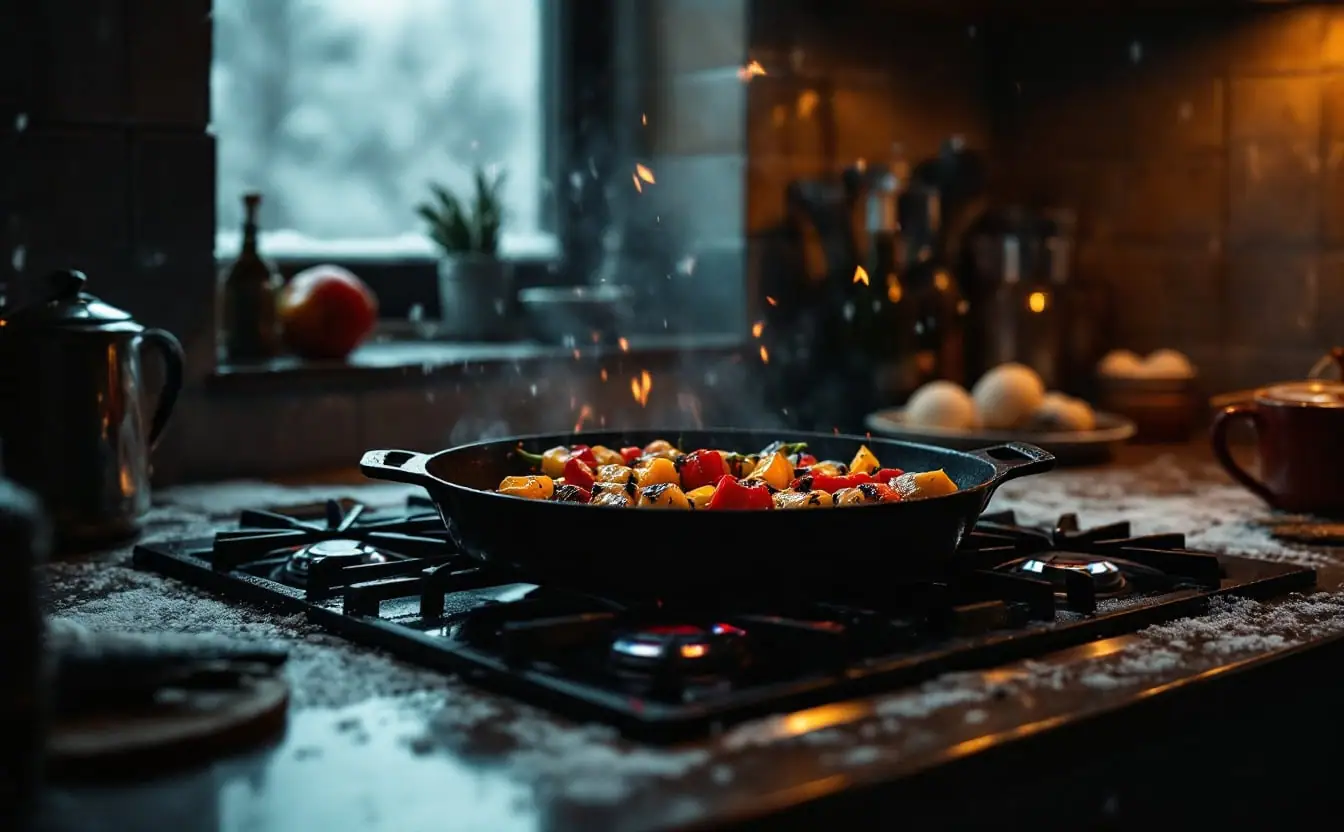
Vegetables are the easiest win, because there's so little fat to smoke. Zucchini planks, peppers, thick onion rounds pinned with a toothpick, mushrooms, asparagus, corn and slabs of halloumi all do well on a grill pan or smokeless grill. Whole peppers blister beautifully under the broiler.
Smoke alarms, hoods and windows
This is where condo hosting either works or ends with someone on a chair. Never disable, cover or pull the battery from a smoke alarm. Keep the smoke from reaching it instead.
- Turn the range hood on high before the pan heats, not when smoke shows up. Know which kind you have: a ducted hood vents outside, while a recirculating hood, common in condos, catches grease but pushes smoke back into the room. With the second kind, your real ventilation is windows.
- Open a window near the kitchen and another on the far side of the unit for a cross draft. Even a few centimetres helps in January, and ten minutes of cold air beats the alarm.
- Point a small fan toward the open window to push haze out.
- Trim visible fat, pat food dry, use a high smoke point oil such as canola or avocado, and brush on sugary glazes only in the last minute or two.
- Find out how your suite alarm is wired. In some buildings it sounds only in your unit; in others it can involve the building system. Ask your property manager before the first big night, not during it.
If the alarm sits right outside the kitchen, it helps to know that ionization alarms tend to react to cooking smoke more readily than photoelectric ones. Whatever type you have, learn where the hush button is.
Cleanup
Scrub the grill pan while it's warm but not scorching, with hot water and a stiff brush or a chain-mail scrubber. A little dish soap won't hurt seasoned cast iron. Dry it over a burner for a minute and wipe on a thin film of oil, and never leave it soaking.
Let the smokeless grill cool unplugged, then empty the drip tray and wash the removable plate as the manual directs, using nylon or wooden tools on nonstick. The broiler pan is the easy one: fold up the foil, toss it, and let the rack soak in hot soapy water through the second half. A contact grill wipes clean with damp paper towel while it's unplugged and still warm, plus the plastic scraper most of them come with.
Let all the fat cool and set, then put it in the garbage. Poured down the drain, it becomes your building's problem and, eventually, yours.
How the four compare
| Method | Char | Smoke | Best for | Weak at | Cleanup |
|---|---|---|---|---|---|
| Cast-iron grill pan | High, dark marks | Medium to high with fatty food | Steaks, skewers, burgers, vegetables | Wings, big batches | Moderate |
| Electric smokeless grill | Medium, lighter marks | Low to medium | Vegetables, chicken pieces, skewers | Hard sear, crowds | Easy |
| Oven broiler | High, from above | Medium | Wings, skewers, anything for a crowd | Grill marks | Easy with foil |
| Contact grill | Low to medium | Low | Thin burgers, split sausages, sandwiches | Thick cuts, char | Easy |
How I run a playoff night
For eight people, I split the work so no single tool runs flat out. Wings go into the oven about an hour before kickoff and under the broiler as people arrive. Sausages are poached ahead and browned on the grill pan at the first break. The smokeless grill sits under the hood with vegetables and halloumi, which people pick at for hours. The watch party planning checklist covers the rest of the timing. And when friends with backyards ask what to buy for summer, I send them to this explainer on pellet grills.
The alarm stayed quiet through every game last weekend. The grill pan is on the stove now, scrubbed and oiled, waiting for Sunday.