Building a Home Viewing Room: Screens, Sound and Seats
Screen size, sound, sightlines, a drink rail and a quiet fridge. A practical plan for a home room built around watching games with friends.
By Colin MacAulay9 min read
Restaurant people look at a room differently. Years of running front-of-house taught me to check sightlines before anything else: which seats can see a screen without twisting, where a server can walk without blocking anyone, where the glare from the front windows lands at four in the afternoon. When I finally set up a room at home for watching games, almost all of that carried over. The rest I learned by getting it wrong.
This is the order I would do it in now. Seats first, then the screen, then sound, then everything that makes people stay through overtime.
Start with the seats
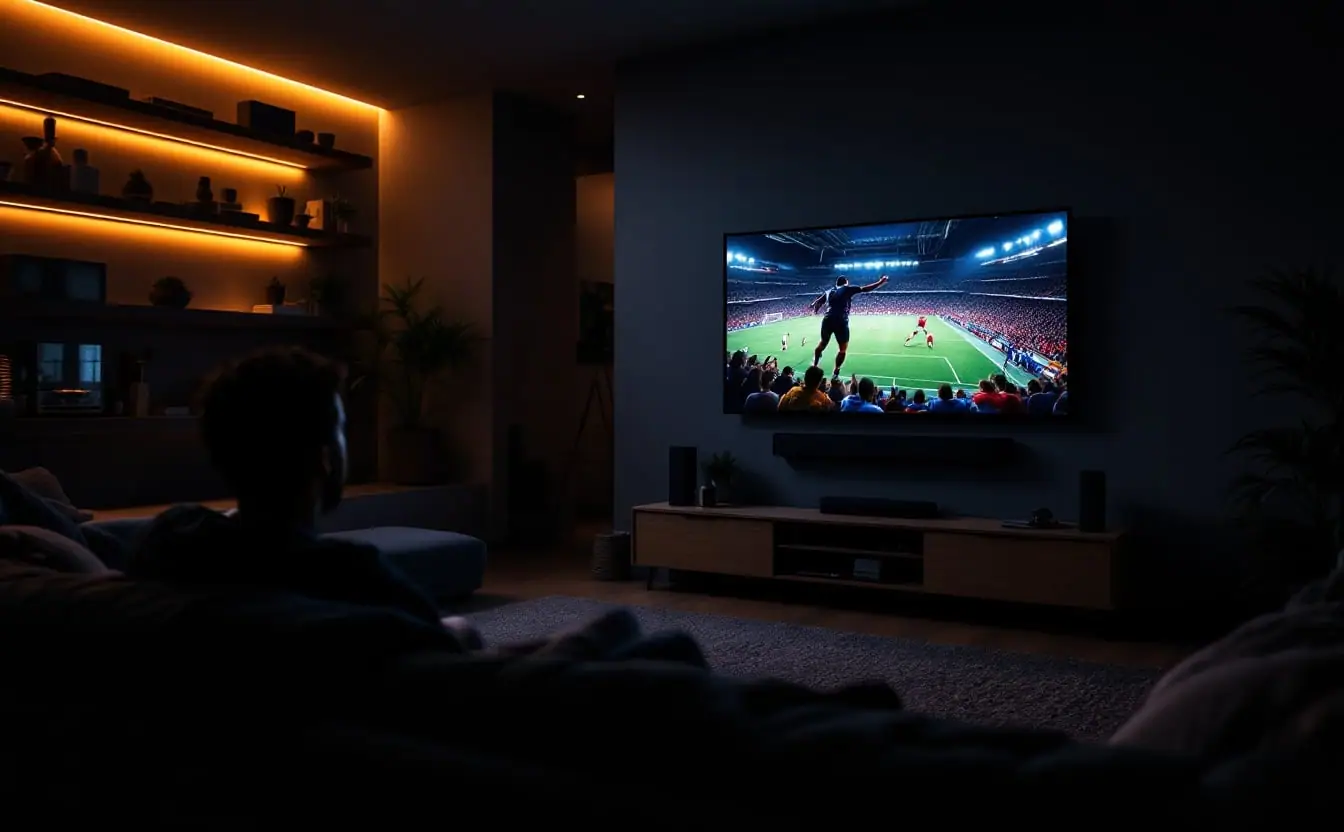
Decide where people will sit before you buy anything. The screen should be centred on the main seating, with the middle of the picture near seated eye level, a little above at most. For most couches that puts the centre of the screen around 40 to 42 inches (100 to 107 cm) off the floor. A TV mounted high above a fireplace looks great in a real estate listing and gives everyone a stiff neck by the third quarter. If the wall forces you high, a tilting mount helps.
Plan for the crowd you want on a big night, not on a normal Tuesday. Then sit in every seat and slouch the way people slouch in the fourth quarter. Seats far off to the side can see faded colour and weaker contrast on many TVs, so the wider your seating, the more viewing angle matters when you shop.
A second row needs height. A riser of roughly 12 to 18 inches (30 to 45 cm) lets the back row see over heads. If that is more construction than you want, the drink rail further down does the same job with stools.
Leave a walkway of about 36 inches (90 cm) behind or beside the seating, so someone can reach the fridge or the bathroom without passing in front of the screen. In a restaurant, that gap is the difference between a smooth night and a server getting yelled at during a free throw. At home, swap the server for a friend.
Screen size and viewing distance
Bigger is tempting, but there is a sensible range. A common rule of thumb for 4K screens is to sit between one and one and a half times the screen's diagonal away. For 1080p, it moves back to roughly one and a half to two and a half times.
| Screen (diagonal) | Rough 4K seating distance |
|---|---|
| 55 in (140 cm) | 4.5-7 ft (1.4-2.1 m) |
| 65 in (165 cm) | 5.5-8 ft (1.65-2.5 m) |
| 75 in (190 cm) | 6-9.5 ft (1.9-2.9 m) |
| 85 in (216 cm) | 7-10.5 ft (2.2-3.2 m) |
Sports add a wrinkle: most live broadcasts are not true 4K. Many are produced at lower resolutions and upscaled by the TV, so sitting at the very front of the range can make a game look soft. For a sports room, the middle or back of the range is usually comfortable. Measure from the couch to the wall first, then choose the size.
TV or projector
A projector gives you a wall-sized picture for less than an equally huge TV, and in a dark basement on a winter night there is nothing quite like it. The catch is light. Projected images wash out with daylight or lamps on, and plenty of sports happen in daylight: weekend afternoon football, early tournament games, spring matinees. A TV is much brighter, which makes it the safer choice when the viewing room is also the living room.
If you go with a projector, use a proper screen instead of a painted wall; screens designed to reject ambient light help a great deal in rooms that can't be made fully dark. Short-throw models sit close to the wall, so nobody walks through the beam on the way to the fridge. Listen to the fan before you buy, because you will hear it during every quiet free throw.
If you go with a TV, look at off-angle performance if your seating is wide. OLED sets give deep blacks and wide viewing angles but are often less bright than the best LED sets, and a steady diet of static score bugs and channel logos is the kind of use burn-in warnings describe, so read the warranty. Bright LED sets with local dimming handle sunny rooms well.
Motion settings that matter for sports
Fast motion is where sports get hard for a TV. A ball swung across the court, a puck rimmed around the boards, a camera panning with a winger: that is where blur shows up.
Start with refresh rate. A panel with a native 120 Hz refresh rate generally handles motion better than a 60 Hz one. Ignore inflated "motion rate" marketing numbers and find the native rate in the spec sheet.
Motion smoothing (every maker has its own name for it) creates in-between frames. On films shot at 24 frames per second, it causes the "soap opera effect", which is why film fans switch it off. Sports are different. Most live sports are already broadcast at a higher frame rate, so a low or medium setting can clean up a fast pan without much of that odd look. Push it too high and you'll see halos around players and the ball. Start low, watch a fast sequence and adjust.
The "sports" picture mode is often the least accurate setting on the TV, cranking brightness and colour until the grass looks neon. A more accurate mode (often called standard, calibrated or filmmaker) with brightness raised to suit the room usually looks better after ten minutes. Turn off energy-saving modes that dim the picture on their own; they love to darken the screen right when the camera cuts to a dim arena crowd.
Sound you can hear the commentary through
Built-in speakers are the weak point of almost every flat screen. For sports that costs you twice: you lose the low rumble of the crowd and the clarity of the play-by-play underneath it.
A soundbar is the simplest upgrade. Look for one with a dedicated centre channel, because the centre is where commentary lives, and use the dialogue or voice mode that lifts voices without turning everything else up. A separate subwoofer adds the crowd roar and the thump of a dribble in a quiet arena. For a bigger or dedicated room, an AV receiver with separate speakers gives you more control; the centre speaker still matters most, so put the money there before the surrounds.
Connect through the TV's HDMI eARC or ARC port so one remote handles the volume. Check the lip sync setting if the commentary seems a beat off. And learn where night mode is. It narrows the gap between loud and quiet, so the overtime buzzer doesn't wake the kids.
The delay problem
Every way of getting a game into the house has some delay, and they don't all match. An over-the-air antenna, if the game is on a network you can pick up, is often the quickest picture you can get. Cable and satellite come next. Streaming usually runs behind both, sometimes by a few seconds and sometimes by a good deal more.
That matters because of phones. If anyone in the room has score alerts on, or your group chat includes a friend on a faster feed, you'll hear about the goal before you see it. Before a big game, turn off score notifications in sports apps and ask the chat to hold its reactions.
Two games at once
Overlapping playoff games and tournament weekends tempt everyone into a multi-game setup. Picture-in-picture or a multiview mode, if your TV or streaming device has one, puts two or more games on one screen, though every picture shrinks.
A second screen is often better. Mount a smaller TV beside the main one at the same height, or set a tablet on a stand at the end of the couch. Give the sound to the game that matters most and turn on captions for the other. Captions on the muted screen are the easiest trick in the whole room: you catch the important calls without two sets of commentary fighting.
If you are hosting a bigger group on one of those nights, a watch party checklist covers the food, invitations and cleanup that a room plan doesn't.
The rail, the fridge and the light
The best idea I took from restaurant floors is the drink rail. A narrow counter at bar height, about 40 to 42 inches (100 to 107 cm), set behind the couch with a row of stools, turns the back of the room into a second row with better sightlines than the first. A top 12 to 16 inches (30 to 40 cm) deep is plenty. Add a small lip along the front edge so nothing rolls off, and an outlet for chargers, because someone always needs one by halftime. Bars use rails because they hold more people in less floor space than tables, and if you look at how a good room for a game is laid out, you'll find them along walls and around pillars almost everywhere.
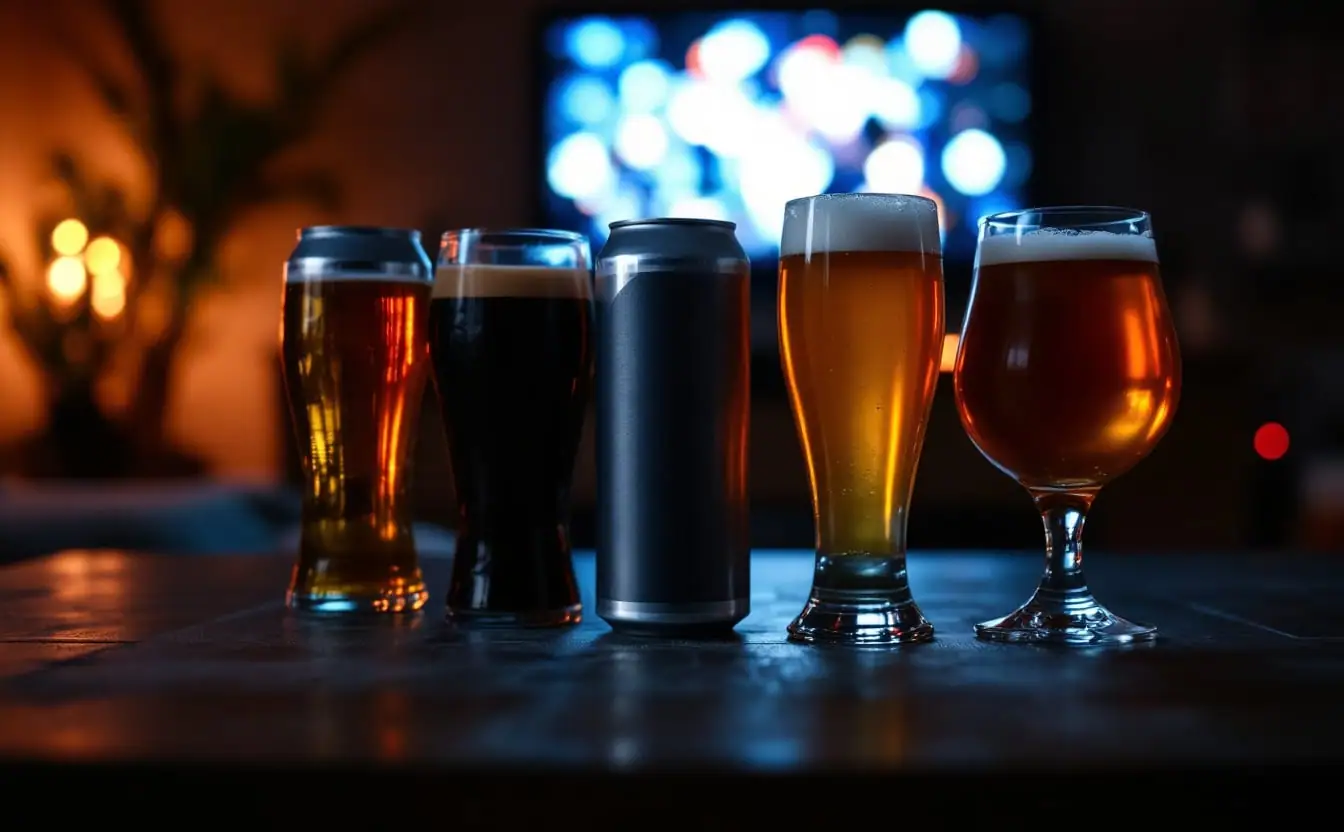
A small beverage fridge saves the trip upstairs, and the trip upstairs is always when the big play happens. Put it near the rail and out of the sightline to the screen. Under a counter, buy a front-venting model so it doesn't overheat. Compressor fridges cool well but hum; thermoelectric ones are quieter but struggle in a warm room. For lagers and pop, around 38 to 40°F (3 to 4°C) works. Darker ales taste better a few degrees warmer, so pull them a little before pouring. For what belongs on those shelves, the game-day beer styles guide is a good place to start.
Light is the last piece, and glare is the enemy. Walk the room at the time of day you'll watch most and look for reflections from windows and lamps. Blackout blinds solve afternoon games. For night games, bias lighting on the back of the TV, set to a neutral white, eases eye strain and makes the picture look like it has more contrast. Put the overheads on a dimmer and add low lights along the walkway and at the rail, so nobody flips on the main lights during a timeout.
Three ways to build it
Here is how the pieces stack up at three levels of ambition.
| Basic | Mid | All-in | |
|---|---|---|---|
| Screen | The biggest TV your seating distance allows, at eye level | A larger TV with a native 120 Hz panel and good off-angle viewing | A very large TV, or a projector and light-rejecting screen in a room you can darken |
| Sound | A soundbar with a centre channel | A soundbar plus a separate subwoofer | A receiver with dedicated speakers, centre first |
| Seats | The existing couch, centred and at the right distance | The couch plus a drink rail with stools | Tiered seating on a riser, plus the rail |
| Drinks | A cooler with ice on game nights | A compact beverage fridge by the rail | A built-in, front-venting fridge under the rail |
| Light | Curtains you can close | Blackout blinds and dimmable overheads | Bias lighting, walkway lights and dimmers throughout |
Whatever level you build to, run one test night before the game that matters. Put the pregame show on, fill every seat, set the lights the way they'll be at tip-off and stock the fridge. Then walk the room with a drink in each hand. If you can get from the fridge to the back rail without crossing anyone's view of the screen, the room is ready.